As Ahriman crusades through the Warp and across the galaxy in search of knowledge and power, I am painting his Army for commission to tabletop standard. Today, we get to play in the dirt!
Started with a few big scoops of potting soil. All over the internets you will find warnings about fertilizer and soil pests or pathogens, with instructions to wash and cook your dirt. Blah blah. Use cheap fresh stuff from the store, nothing fancy with fertilizers or moisture control. I didnt care, I get mine from a nice dry sunny spot out in the yard. You can find similar warnings and instructions on sorting the dirt, I just gave it a good shake in the big container, and scooped the stuff that looked the best into the small container.
I used the two part tupperware to mix the mud. In the small side I have about 60/40 glue to water. In the big side I added the glue and water to the dirt separately and mixed into a paste as I used it.
Basically I would roughly coat the area for dirt with the glue/water, apply the dirt paste liberally, then I would coat the dirt with glue and shape the dirt with the stiff brush, brushing off excess etc. I feel the shaping/coating step was the most important.
Once the dirt was dry (12+ hours) it was time for color. In order I applied light layers of Bleached Bone, Graveyard Earth, Bestial Brown, and Scorched Brown, and a final light coat of Bone. Eventually the finish effect will have some very carefully applied tiny swaths of White.
Ah yes, something similar for the infantry - they are next!
In the Warhammer 40k Universe, The Imperium of Man is a kingdom surrounded in all directions by darkness and war, knee deep in enemies beyond count. Against these vast threats stand the Legion of Oadius, "...an army so pure of Purpose as to be utterly beyond temptation. They are the Emperor's final boom to Mankind, an army of unfaltering and incorruptible warriors... They are the Grey Knights."
I am building and painting this army for General Oadius himself. Which is great for him and me, but really bad for you - and as far as we are concerned, thats a Great deal! This article is about the very first steps after Building and Primering the GK vehicles. Basically these are the stages to 'install' some easy weathering effects, and in this instance, across a whole fleet of vehicles at once for a little extra umpf to the final look of everything.
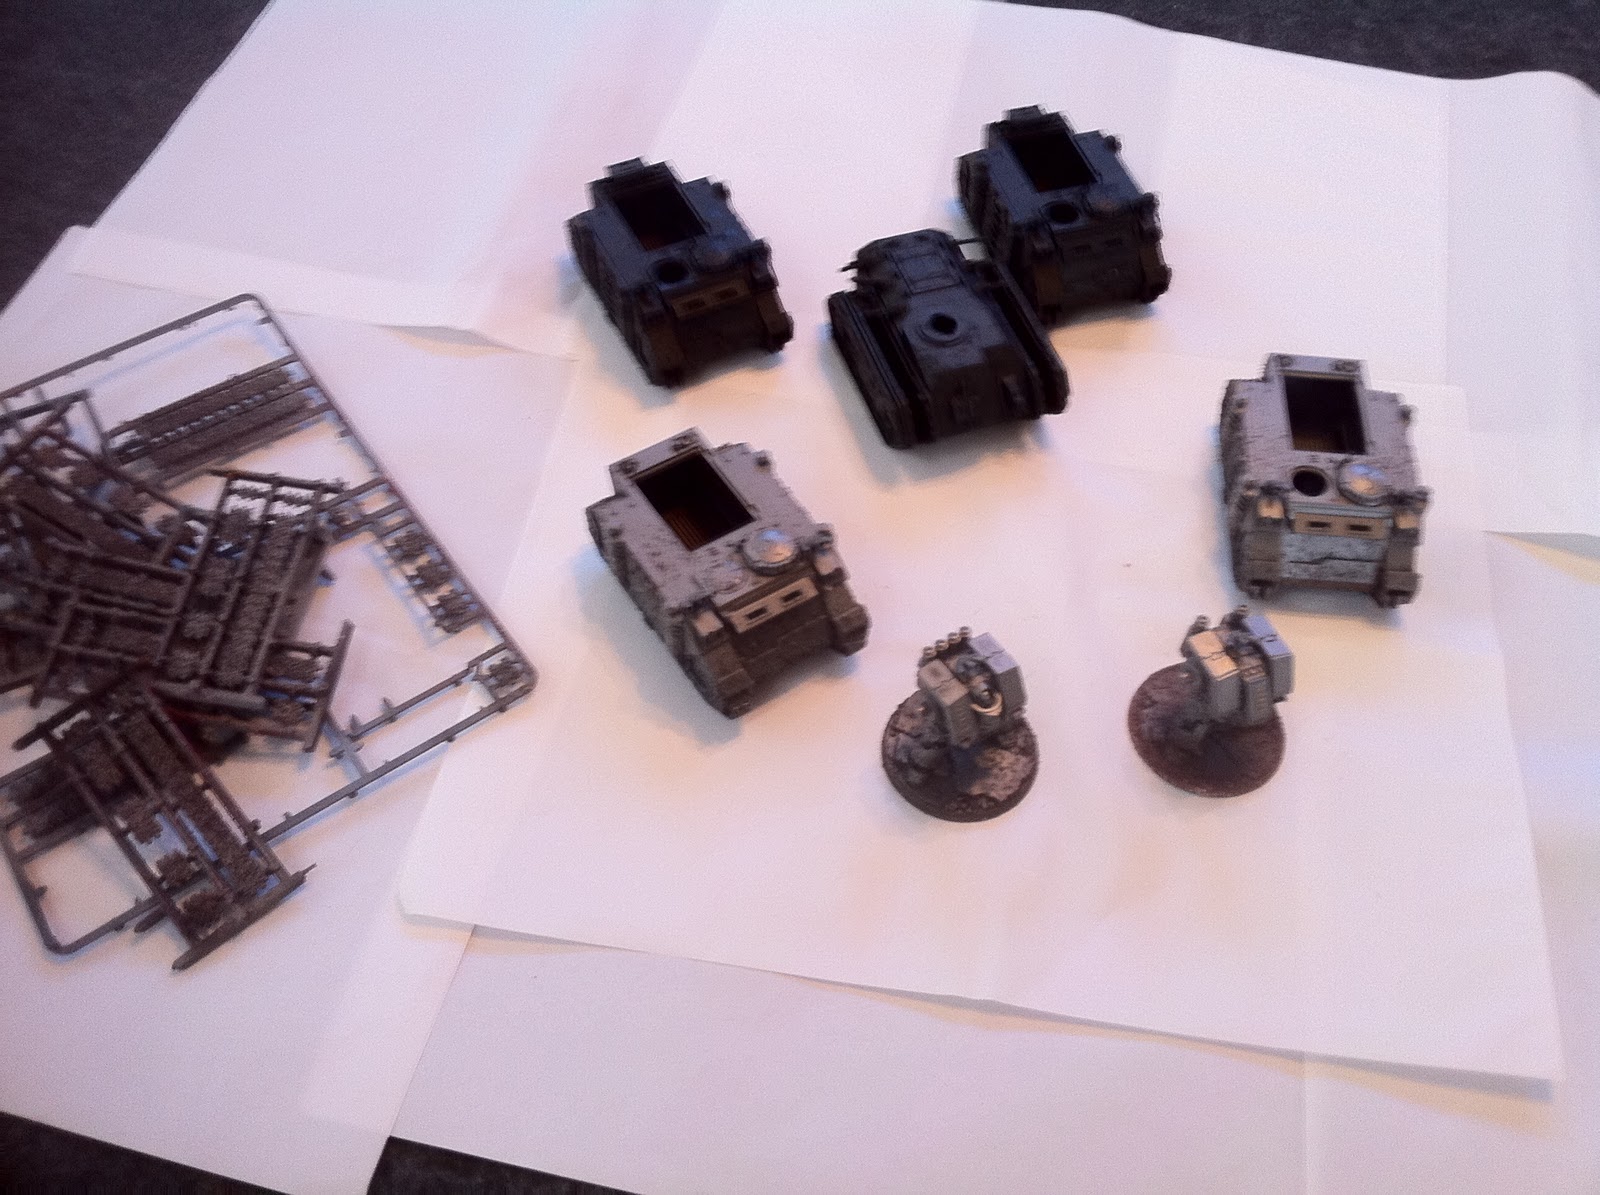
Ok - a little bit of building show off also. What you need to know now going forward is that this Army is all about overboard awesomeness, don't forget. The Vehicles come apart currently so I can paint the things inside. Also having all of the major parts separate at this stage helps to airbrush all the parts separately. Remember, I like to do things easy.
The Stormraven has a million pieces. I want the landing gear to work, so everything will stay in a billion pieces for the most part. All the other zillion parts of guys and turrets and guns pretty much end up different colors, or need to be moveable to get to the weapons or inside for painting. Going to need a lot of fucking magnets to finish this bitch.
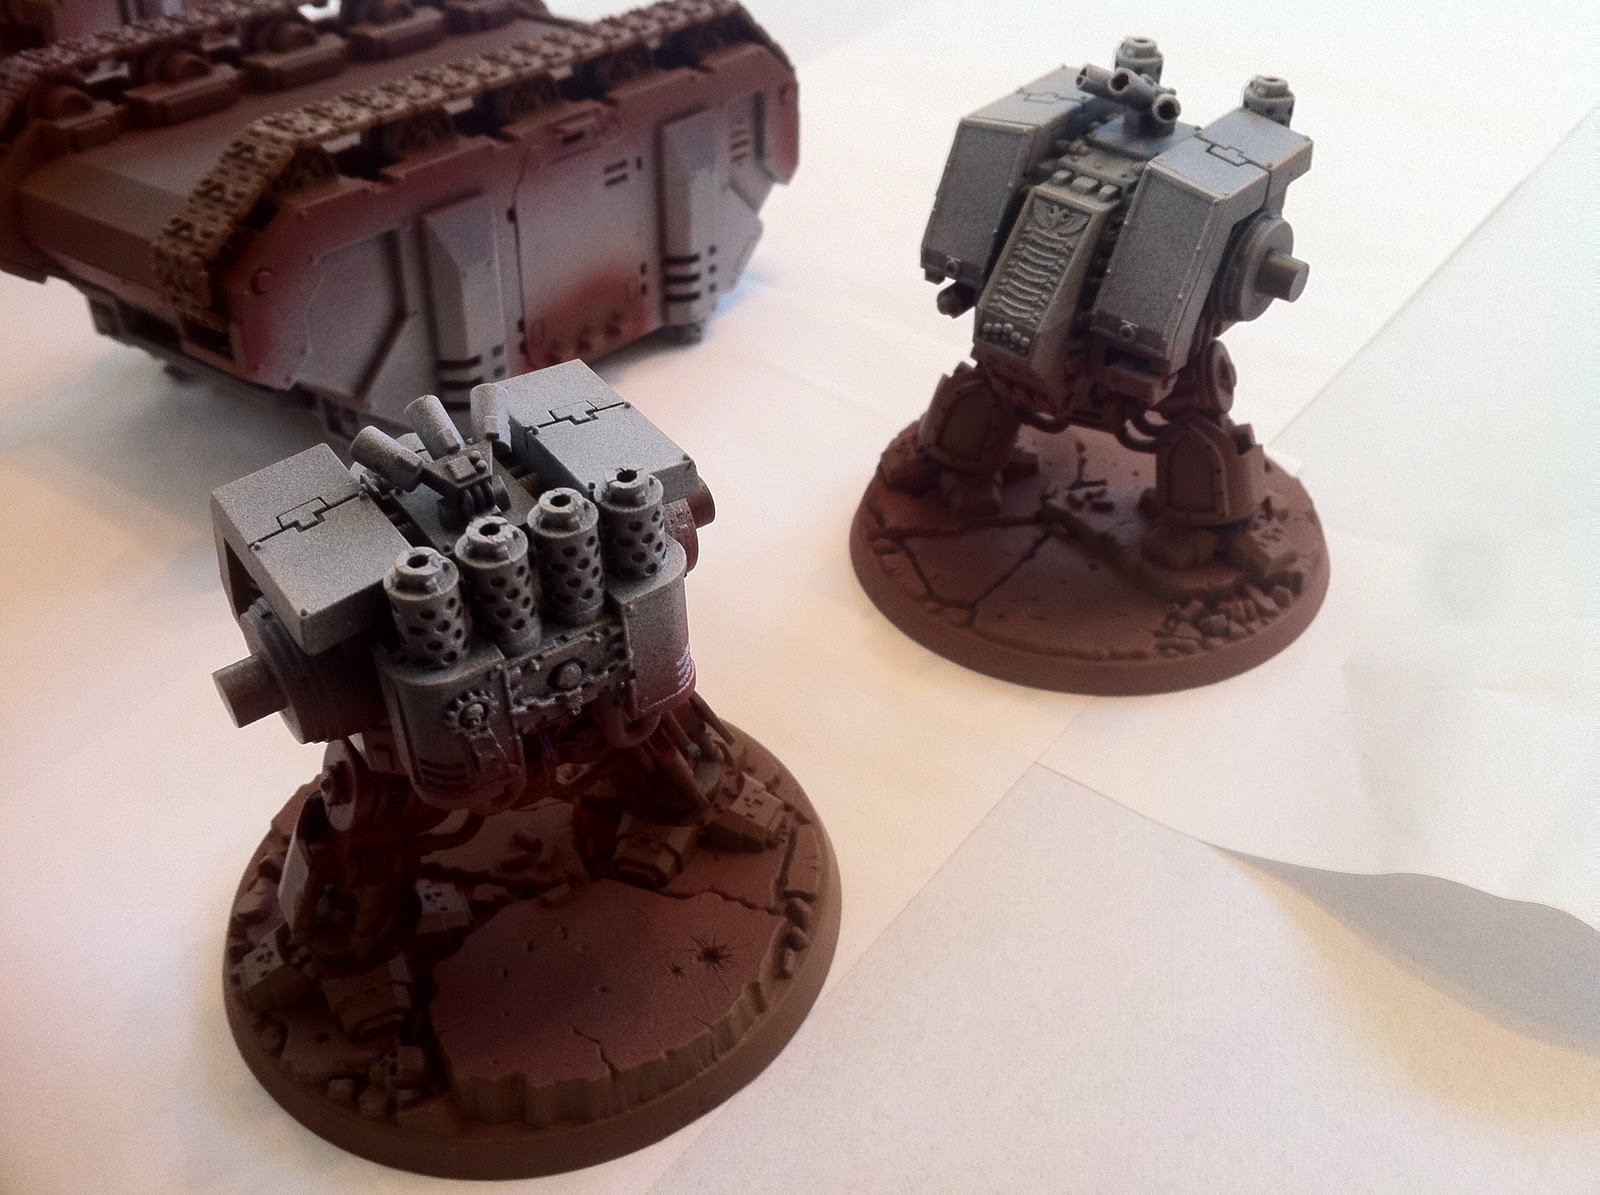
My first build with Dreadnoughts. These guys are beautiful models, and will have magnetized Psyfleman arms. That means all the other dread weapons could be magnetized on if wanted at some point. There is a 3rd one of these guys running around somewhere.
Keeping it easy... Everything but the Stormraven got swaths of color applied with airbrush.. Scab Red, then Snakebite Leather, then Chaos Black, starting at the bottom of the model. I was going for mud and guts and muck here not necessarily rust. The tracks are not on the models yet and got the same treatment.
Because we are going for a fleet-wide or army-wide effect its very important at this stage to get those color swaths installed. Thats why I would call this underpainting often. Before the final coat of boltgun or black goes on these vehicles there will be a Red-Brown-Black-Grey-White color scale from bottom to top, and the final coat of paint will be very thin and technically transparent, so the color scale will carry through even in a very subtle way to the final finished look.
On vehicles I have been going for a 'standard 1-inch' wide color swath. With a light touch and many colors it turns into more like a 1/2-inch blended shades. For "weathering" effects in this manner you can and should go overboard, because they can easily be toned down to a tolerable level.
After the color scale is installed, its time for hairspray and salt. You can find a whole bunch of hairspray/salt tutorials out there on the internets easily. Basically you spray the model with a lot of hairspray and then sprinkle salt on as desired. Most people seem to spray the hairspray into a cup, and then apply with an airbrush, but I don't. Its not a precise method in the first place, it comes down to how/where you apply the salt at this point.
On these models I put a ton of salt starting at the bottom and worked my way up, trying not to apply salt to the tops and top part of the models. Then you let the hairspray/salt dry. Give it a good rest, not just an hour, more like 3-5+ There is probably some math about gas escaping and etc, but the point is that you need the salt to stick.
Once the salt has dried, you put your top coat on. I started by hitting the bottom of all vehicles with Scorched Brown. I think its important to first use a darker color then the last color in your weathering, which was Snakebite Leather here. This will save some highlighting and shading of the weathering later, by installing it now. Sometimes and usually I follow this with a swath of black, an then the color I want to finish with, which was Chaos Black and Boltgun Metal here.
Once the topcoat is dry, you wash off the salt. Most tutorials show folks doing it by hand with a cup of warm water and a brush. For smaller models that works and makes sense. For other types of weathering it does also, as you will add effects with your brush and other tools. For this effect and others I just wash off the salt in the sink with really hot water. Its easy and fast and works great, and if you are clever you will still have the opportunity to add effects while they are wet.
....and so, the GK vehicles are now ready - to be painted!
Dreadnought 2x Twin Linked Auto Cannon psybolt ammunition
Dreadnought 2x Twin Linked Auto Cannon psybolt ammunition
Dreadnought 2x Twin Linked Auto Cannon psybolt ammunition
This is the list that I am building for Shotdownmind to airbrush and paint on commission. We have decided on a SUPER liberal application of Object Source Lighting(from the force weapons, helmeted eyes, psybolt ammunition) and battle damage on the legs using a weathering technique picked up recently. I'll possibly do some hand brushing if necessary but the majority of the work will be done with the airbrush, by Shotdownmind.
If you don't know already, SDM is one of the best painters on the west coast(save a few CRAZY-gifted fuckers like Ultraraider and our own revered Wolfbrothers Brian and Caleb)and he has won Best Painted, Best Appearance and Player's Choice at several different tournaments with several different armies, so using his god given talents was a no brainer. Plus as I previously mentioned in a You Tube comment...SDM warps time in his own personal space and reality and in so doing FINISHES projects like some people start them. The boy has mad multi-tasking skills, what else can I say?!...
So this is our new joint project and I'm sure Shotdown will do some bad ass updates but, UNTIL NEXT TIME.....PLAY WELL, ROLL BETTER!!!!
P.B. (Post Blog) Look for our two prototype Paladin/Terminators that are nearly fully painted, mixed in with the IG army he just finished(look in the previous posts).