Sunday, January 9, 2011

Dark Eldar Project: The Infantry

Nemesis Attack Host

 I am building a Dark Eldar army to paint and play something new in my local store's most recent Warhammer 40k Escalation League starting the first week of January.

 I got a few boxes of wyches, a box of reavers, and a raider to get started on a Monday morning. More Dark Eldar stuff, the rest of my 500pt list and a little more, was expected to arrive Friday that week. The first battles of the new Escalation League would start the following Monday - not a huge amount of time but not bad for 500pts.

I used Army Painter's Uniform Grey for the bulk of the army and Matt White for heads and other bits. Later I would grab Skeleton Bone for the various sails and other addon bits for vehicles. In the past I have built models and armies much differently - building the models, bases, everything to a finish point and then basing them Matt Black in most cases. In this case I planned to build and paint the bases separate from the rest of the army, and basing some of the parts differently should help speed up the paint process later. Also the army will have at least three colors once it is fully assembled, before paint.


As I mentioned I built and painted the bases separately. I used a process thats pretty simple and I will be able to repeat as necessary when the army grows. I built the Raider first, couldent help it. As for the Wyches I cleaned up and assembled the legs and torsos. Then attached those to a piece of wood with sticky-tack. Thier left-arm I left on the sprue but fancied it up and cut and cleaned all of the attachments for basecoating. I did that because the Wyches right arm is bare, and they will need to match the Dark Eldar heads because of skin.


Next was the Raider crew, they needed some posing. I did the heads separately because I wasent sure how I wanted to build the various units and like the arms many of them would be exposed Dark Eldar skin, the white basecoat vs grey would be a big time saver later during paint.


Here, I have built Reaver riders and mounted them and the Raider crew to basecoat sticks. The Reavers are really excellent models and one of my favorite in all ways.


The rest of my Stuff got in on Wednesday instead of Friday, awesome! Some boxes of Kabal Warriors, two Vypers a Haemonculus Special Characters and another Raider. The Raider and Vypers will become two Venoms and a Razorwing Jetfighter.


First batch basecoated: Wyches, Raider Crew, Reaver Riders. Entering hour ~Thirty~ of Dark Eldar build, legs and Torsos of the first box of Kabal warriors cleaned up and put together.


Spent some time cleaning and building the haemonculus and reading about the special character and generics in the codex. Not a lot of time to worry about wargear, but it turns out to be a very utility model in that regard. Later I will end up attaching his normal base to a magnetic one, making him even taller. All of the bases are magnetized - Gale Force Nine.


Armed the warriors literally and mounted to basecoat stick. No skin showing on these guys. Originally I built five to be used as Kabal Trueborn, with two blasters and three shard carbines. So at this stage I used some of the extra spikeys to customise the Trueborn's splinter rifles to dress them up as shard carbines. Later I found that in the two Raider kits, I had something that either was a shard carbine or looked like one. So after these guys get basecoated I end up building five more with the cooler gear.


Heads. It turned out mostly what I didnt like about the new Dark Eldar models was most of the heads. I have a few coming from Ebay but that was going to be an expensive route in the long run. At first I was going to basecoat every head that I had but after enough staring at the codex pics etc, I was able to organize some themes and get some work done. So all the heads get basecoated Matt White.
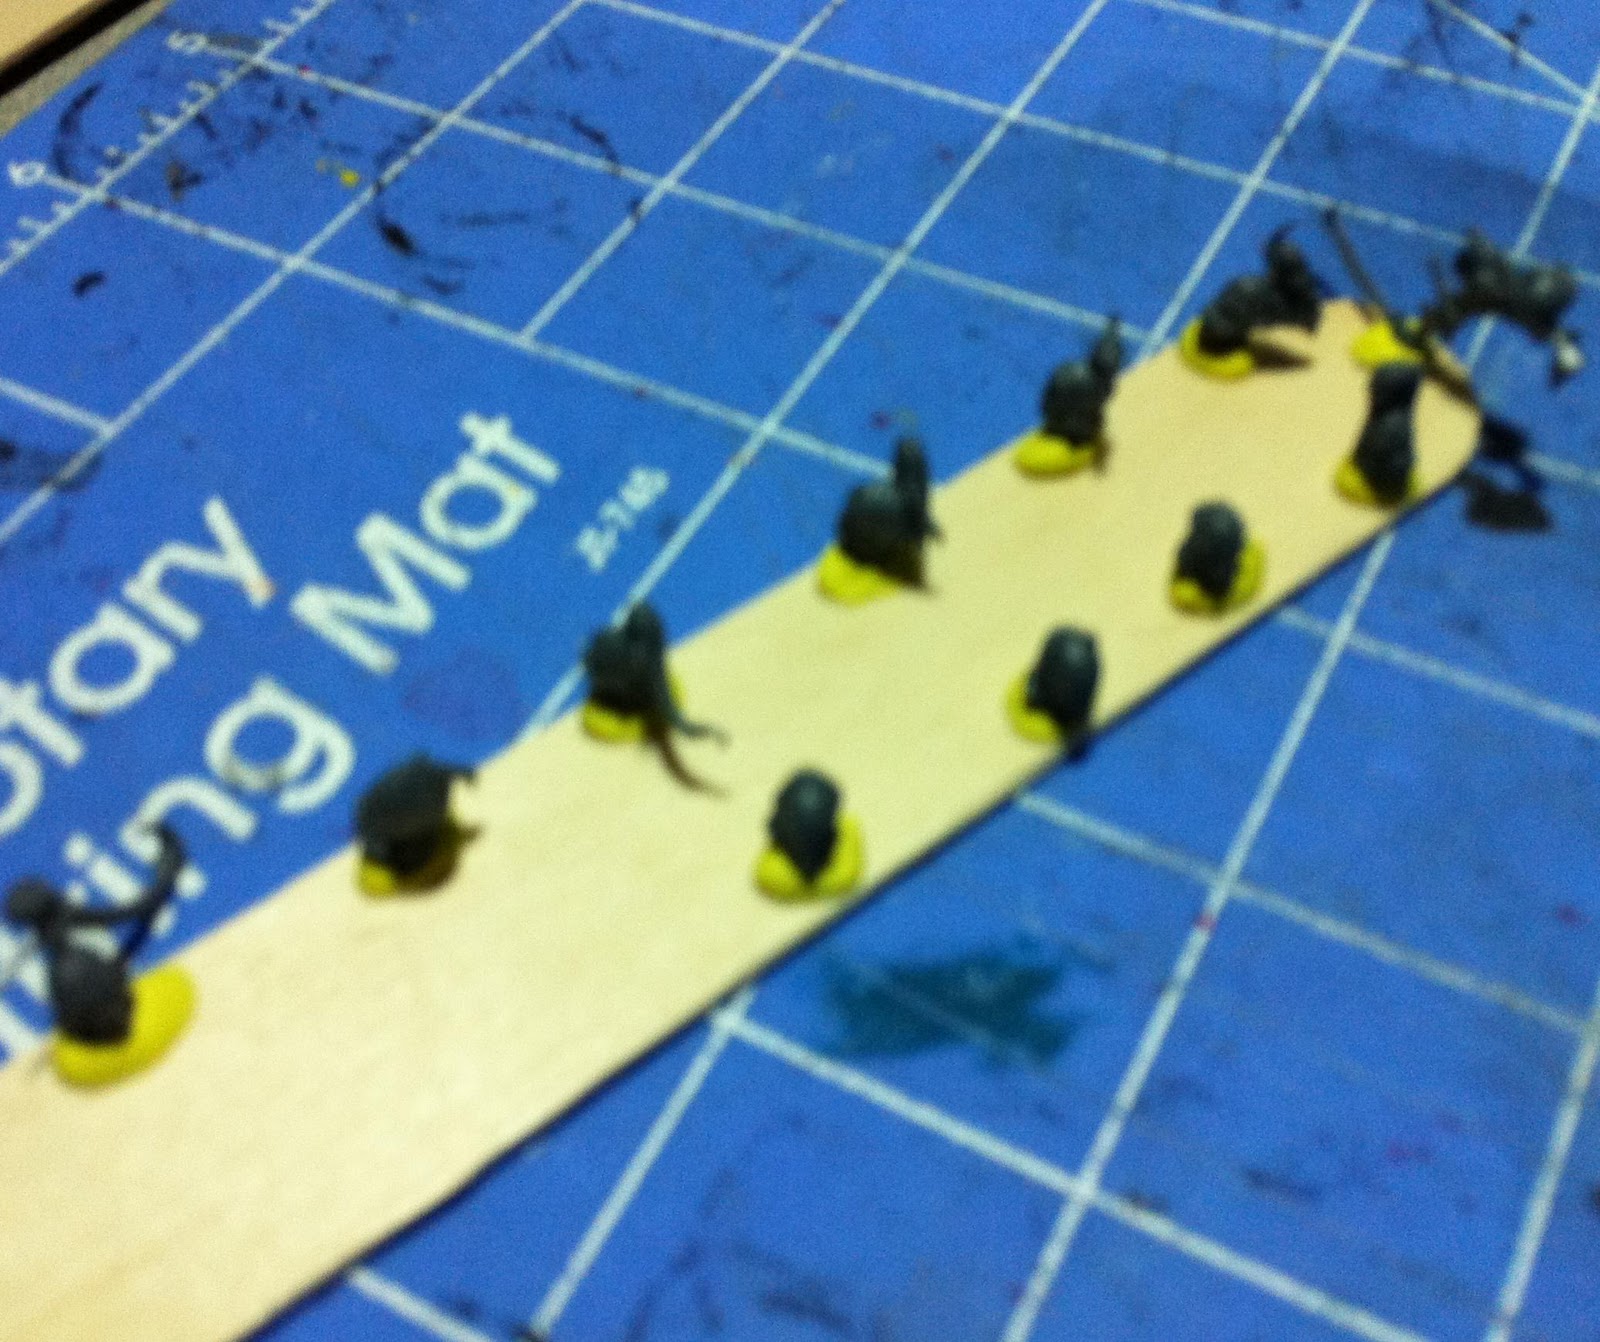


 After checking out the Haemonculus long enough he got basecoated white also. I got the bases done right about this point and was chomping at the bit to glue everything together already. Cracking into day Four of this project, I also started cleaning up and working on the Vyper/Venoms.


I mentioned the Shard Carbine find above, so I built five more Kabal. The Venoms were easy and came though nicely, I also built three crew members for each. The Raider, Venoms, Reavers, Kabal Trueborn and Venom crew get basecoated Uniform Grey, Sails and other vehicle addon bits got the Skeleton Bone. Later I painted the sails black and inked the bone with heavy black. A lot of the bits have heads and things like that, I also wanted a third color with a bit of contrast to the grey and white, thats why I ended up with bone here.


I started with the Kabal Trueborn, already my favorite unit so far. Then everyone got on the bases and some heads installed. I also have some 'blank' bases for objectives and a large base for a webway portal. No plans for what to do on either of those, yet.


 500pt Dark Eldar Nemesis Attack Host - roughly 5 days into build. The list works out to:

Raider with 7 Wyches and Haemonculus
Venom with 5 Kabal Warriors
Venom with 5 Kabal Trueborn


Looks pretty good too - no paint yet!


Saturday, January 8, 2011

Dark Eldar Project: The Bases

Nemesis Attack Host


I started building a Dark Eldar army to build and paint and play something new in my local store's most recent Escalation League starting in January 2011. I have been paying very close attention to the new Codex since its release and have reluctantly become a big fan. Im sure many of you are very aware that only a few of the models and selections from the Codex are actually available currently. For me, that means Escalation League and the Dark Eldar are an awesome opporatunity.

The bases were an obvious place to start with this project. Ive learned my lessons building Tau and Space Wolf collections. Basing is a large part of Paint score in most tournaments, and they are easy points. The Tau have brown sand, and the Space Wolves snow of course, time for something new and better?


To get all the points I need multiple textures, and keeping in mind the growing Dark Eldar Host's future, the process would need to be fairly simple. I was stumped at first but eventually was halfway inspired by some accidental basing results of the past, and the other half straight from my friend Mike's Chaos army bases.

The Wire mesh would eventually work as a couple textures the same with the rocks. I will add static bits of "burnt grass" after the models are mounted and painted. I built a big base and four smaller bases first as my initial test.


1 - Spray paint white base
2 - Ink black,
3 - Paint edges black
4 - Ink rocks black again
5 - Ink wire brown, rocks near wire also
6 - Drybrush rocks Graveyard, Bone, and White
7- Paint wire Tin
8 - Black Ink touchup


Ready for Attack Host instalation


Built three more last minute: a fifth objective counter, an archon and succubus. The army looks graet on the bases and it just gets better from here.


40kNation and Vassal40k


40kNation is quickly becoming one of my favorite 40k resources and hangouts. You Need to checkout their Vassal40k how-to article and get that Vassal fired up.

Monday, December 27, 2010

Monday Night Terrain: Work in Progress

Monday Night Terrain: New Set (part 1)

I have been working on my "4th" generation Warhammer 40k terrain set since returning from Vegas in October. Only one building survived the last set, and a few pieces from a couple other. Mostly I got these craters cause another guy carried them around in his army case to use during game play when vehicles explode. Some are GW and a few GF9. Either way they havent ended up being the most playable as wreckage but with some build up and weight they make great terrain on thier own.

Nothing was "wrong" with the last set of terrain, just akward as we used it week after week. The buildings that did exist were hard to manuver with our big human hands. Most of the pieces were chunks of machinery or half burried ruins and buildings. The limited selection was having an impact on terrain deployment for tournament practice, and on that note the set as a whole was not replicating the environment we were encountering outside our local store.


Tabletop terrain for gameplay needs to be sturdy, have some levels, plenty of places to easily place troops on small and large bases, and of course have some obstacles that you just cant place a model on or in. Put some thought into models with banners and how terrain pieces will affect LOS for vehicles of different types etc.


I fitted the various parts of each Piece and then went to work with sharpie, exacto, and scissors! I cut into the groves of each crater around where I would embed an object, like the Blood Angel Predator or the industrial machinery.


Death to Blood Angels!


I built this building earlier - actually a three-level, 2 two-level, and 4 one-level ruins from three Del Taco boxes.


One piece has the sand bags embeded and the other doesnt. It didnt matter after the layers of texture but it made sense at the time.


All the various parts glued on and together with liberal amounts of Hot Glue! Seven new pieces to start off the terrain set. After some build up on the buildings/ruins, and some large/small rocks I will spray paint everything in layers of black and white.


First batch of Dark Eldar for local Escalation league starting Jan 3rd - a real chance to showcase the next level of hobby skill.

Roadtrip: LA


Reno40k crew should be mobbin 5 deep this trip,

$65 Event Fee


Sunday, December 26, 2010

Good Morning 40kNation!


Started Wolfbrothers Chapter at http://40knation.com

Check out Community Chapters section of the forums and drop a shout out!

Monday, December 13, 2010

How To: Wolfbrother Army Display Board

December Howl!


Thanks for paying attention everyone! Merry Christmas etc.

The Wolfbrothers HelWinter Division performed well and scored well at NeonCon. The Army paint, Thunderwolves, and Army board all got a lot of attention. Thanks again!

Army Display board is not worth a TON of points but sure adds a great deal to the army in lots of ways. The project itself was an obstacle and learning experience that will have profound effect on future projects.

I didn't want the Army crammed together in Nice little square blocks on a 2ftx2ft square. I wanted to make sure there was space to spread the scouts and Twolves around a little, plus some levels to help literally display the army. Snow has been a major component of the Wolfbrother army for many months now and it would add its own challenges. At this point in the Army's development I have a simple process to achieve pretty good snow results on the individual bases, and I was sure the effect would not duplicate well on the large terrain piece - the last item necessary on the board would be a lot of textures and depths to make the snow work.

I didn't exactly accomplish all of the goals, but the end product was good enough. The main drawback being that this board is too big to really carry around a Casino convention. It wasn't as bad as some other boards but it wasn't exactly easy to transport. Although it does look great, it wasn't that practical after the initial paint scoring. 


I wasn't sure how to do any portion of the board really. None of the tasks or techniques were really new but I haven't really taken on a project like this in many years.  I didn't have any time to throw away and of course I didn't want to waste any of it throwing together a horrible looking display board. Knowing full well that the snow at the end of the project was really the key, I dove in head first with about two weeks left to the tournament.

I wanted and needed levels to avoid crazy over crowding. As it was the end product was barely just enough room. I was concerned about travel and a whole host of durability issues: couldn't be too big or heavy or light or fragile. I watched hours of youtube videos and re-scoured the internets for simple how-tos that would fit my needs. At this point in the process I didn't have a ton of creative juice to go around.

So at any rate I started with a standard corkboard. Lightweight and sturdy. Had a nice frame already installed. This was a popular option on the internets, and it was perfect. Apologies in advance for any lack of photos, the production staff here is a bunch of dawgs.


I used original tacky glue at first to hold most items together while everything got its shape. Then good ole elmers glue to actually make stuff. Plastic imperial symbol from some GW terrain kit. The bunker started life as a tree I think - I found it in a box as packing material for a fancy lamp. Some doors and other Space marine bits glued in place on little square chunks of foamboard. Oh yeah, I used foamboard for all the build up. Not every layer is a full piece of foamboard. Lightweight but durable.

The bunker had some holes that I covered with masking tape. I put each layer of foamboard down then cut it irregularly. The entire army was nearby and went on and off the board in its various stages many times. I sketched out the placement of vehicles, the thunderwolves, and squads with sharpie as I went.


Everything got a good smacking with the wood putty. I ended up using two different kinds, one was putty one was spackle I think. In the past I have liked the drier of the two but for this project and future ones the thinner wetter stuff seems best. I put down big globs with a large popsickle stick and then worked it around adding texture to some places and smoothing it out in others. I made a lot of terrain pieces when I was a kid and its important to create various seals on your project as you go along. So all of the exposed foamboard was covered well. Once this stuff dried I took a smaller wood wedge and worked over the whole board like laser sandpaper, getting rid of any rough chunks that will flake off anyways etc.

At this point the rough textures mean nothing, its all about layers. The large raised areas are intended for Rhinos/Razorbacks, the smaller snow banks are to help hide the black raised portion of the infantry model's base. On the left side of the board the terrain breaks up for the Thunderwolves and Wolf Scouts to have some stuff to walk over around and etc.


After a couple layers of putty the entire board was painted with cheap black paint from dollar store. Mostly as a final layer of protection before the next stages.


Masked off the Raised areas - not the entire surface, the perimeter of each raised spot has texture and will pick up more as we go.


Built a mask for the bunker, it has enough texture of its own at this point. Also the plastic bits will need protection, probably should not have installed them yet.


Krylon primer black all over, couple of nice even awesome coats on the frame.


Masked off the frame and back edge of ridge.


Bought tons of spray on texture when a local hobby store was going out of business. Very small cans perfect for this application. This was the gray.

Then white. I used some of this stuff before and always hated it, but it seemed perfect as my 3rd/4th texture, and was!


Did some artistic shading and highlighting with black/white spray paint. Some lines some overspray.


Playtesting for NeonCon. GrimBlood vs Eldar and Wolfbrothers vs Pedro


Pulled the tape off the raised areas and flocked them with "Tundra." At this point I glued the Imperial symbol into place. Added many layers of many different sizes of rocks. The whole goal being to break up the landscape with as many textures that would work. The rocks are all added by hand with thin strips or layers of elmers glue. I kinda focused the smaller patches of rocky areas on the lower right part of each area on the board, and large groups of rocks on the upper left of each area. There is a couple of happy little green lichen plants in there also.


Several layers of ink. Black, brown, red and green, in that order. Variously applied with arcane genius!


Ten layers of snow. The first layer is snow flock mixed about half and half with elmers glue. Army Builder snow has become my favotire. Thick snow putty applied very thin to all areas that will receive snow. On the edges or the raised areas this layer went down thicker. Of course in the edges and some groves extra attention was paid, because this was the last chance to fill or otherwise hide anything. The slurry goes down then a layer of fresh flock. I let that dry for a whole day. It looks absolutely horrible at this stage.

Then eight more layers of flock. Using a small generic craft brush I painted 1/3rd watered down elmers glue on to the existing layer of snow flock, careful not to soak the areas with glue or get glue on areas already without snow. It seemed important with each stage to not flock the entire area or even the same exact template of snowy area.

Between layer 9 and 10 I put down a layer of very thin watered down elmers glue over the entire board including the bunker. Almost the last seal. I careful during this application but made sure the existing flocking got a good soak. Let that get a good dry.

For the 10th layer I used less watered down glue, and piled the flocking high. Left it alone in the dark closet for almost a day to dry and be untouched. After a final shaking out in the yard I gave the bunker a simple paint job and coated the board with several layers of clear spray.


This project took about five days start to finish. Its main drawback is the bunker and the bits on the bunker for travel and transport are fragile. I will build a handle for it next trip. It IS lightweight but for tournament play its HUGE and not really great for moving the army around between rounds etc. 

The next board will need better technology.


Good Hunting!